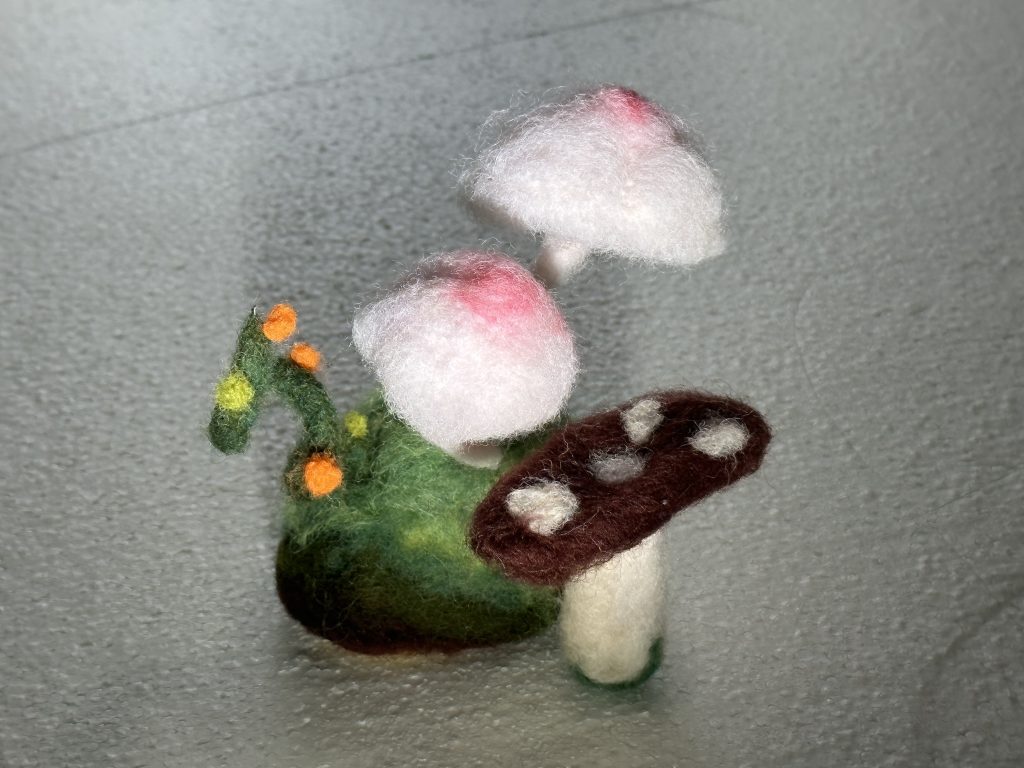
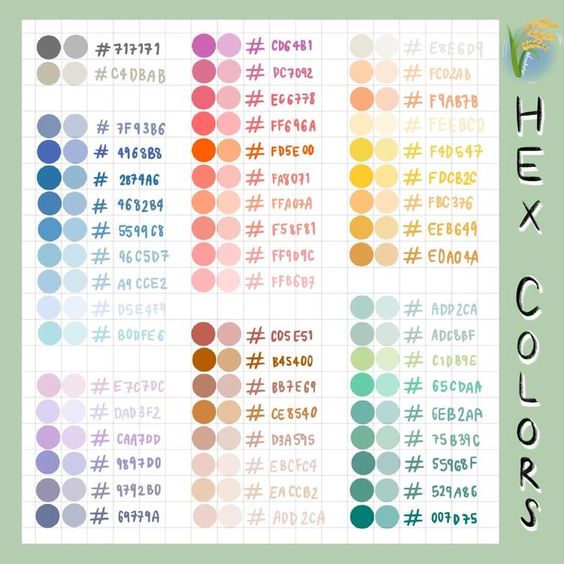
01/03/23
Here are some steps that I think can be taken to make a set for stop-motion animation:
- Planning: Before building the set, it is significant to have a clear idea of what it should look like. It can be done by 2d sketching the set design or creating a 3D model using computer software. Also necessary to consider the scale of the set and the size of the characters that will be used.
- Materials: Firstly we need to think about the budget. For example, materials used for stop-motion animation sets include foam, cardboard, wood, clay, and fabric.
- Building: Once the design and materials have been chosen, it is time to start by cutting and shaping the materials into the desired shapes and sizes. It is vital to pay attention to details such as textures, colours, and lighting, as these will affect the final look of the animation.
- Add props and accessories: To make the set look more realistic, props and accessories can be added, including furniture, plants, lamps, and other items that are appropriate for the scene being animated.
- Testing: Once the set has been built, it is essential to test it before filming. with the camera and making adjustments.
- Filming: Once is complete and tested, it is time to film the animation. This involves moving the characters and props in small increments and taking photographs to create the illusion of movement. The set design will play an important role in the final look of the animation.

Overall, creating a set for stop-motion animation can be a time-consuming process, but it is an important part of creating a successful animation. Being careful with detail and careful planning can result in a set that enhances the final product and makes it more engaging for the viewer.
